Everything you need to print, assemble and mount your Philippi V-Turm. These are the
same guidelines as the PDF in your V-Turm packet, published here so they can be read
in any language, use the language selector at the top of the page.
About
The V-Turm harmonizes the subtle energy of any space it is placed in. It has
four intrinsic functions.
Generator of harmonized energy.
Amplifier of existing and generated energies.
Tuner of all energy fields together.
Transducer of raw consciousness energy into a speed which allows it to function in the material world.
Filament FAQs
Recommendation
I recommend using PLA (polylactic acid) filament for indoor V-Turms. ASA is
required for outdoor V-Turms because PLA breaks down easily with sun exposure.
What is PLA?
Polylactic acid (PLA) is a biodegradable, bio-based thermoplastic polyester
derived from renewable, organic resources like cornstarch or sugarcane.
What is ASA?
ASA (Acrylonitrile Styrene Acrylate): A cousin to ABS, ASA is designed for
durability and real-world utility. It is impact-resistant, highly resistant to
UV sunlight, and won't easily degrade outdoors.
Color choice
Choose a color and sheen that you are attracted to, because color has an energy
quality, and you will be attracted to what is good for you.
Locating your V-Turm
Deciding where to place your V-Turm is very important. I suggest picking the
spot for one of two reasons. Pick a spot you want to amplify because it makes
you feel happy, calm, or at peace. You can also pick a spot that you want to
change where you feel it's lifeless, tense, or negative in any way.
Always place your V-Turm upright to ensure its full effect.
Printer requirements
Printer minimum Z axis height
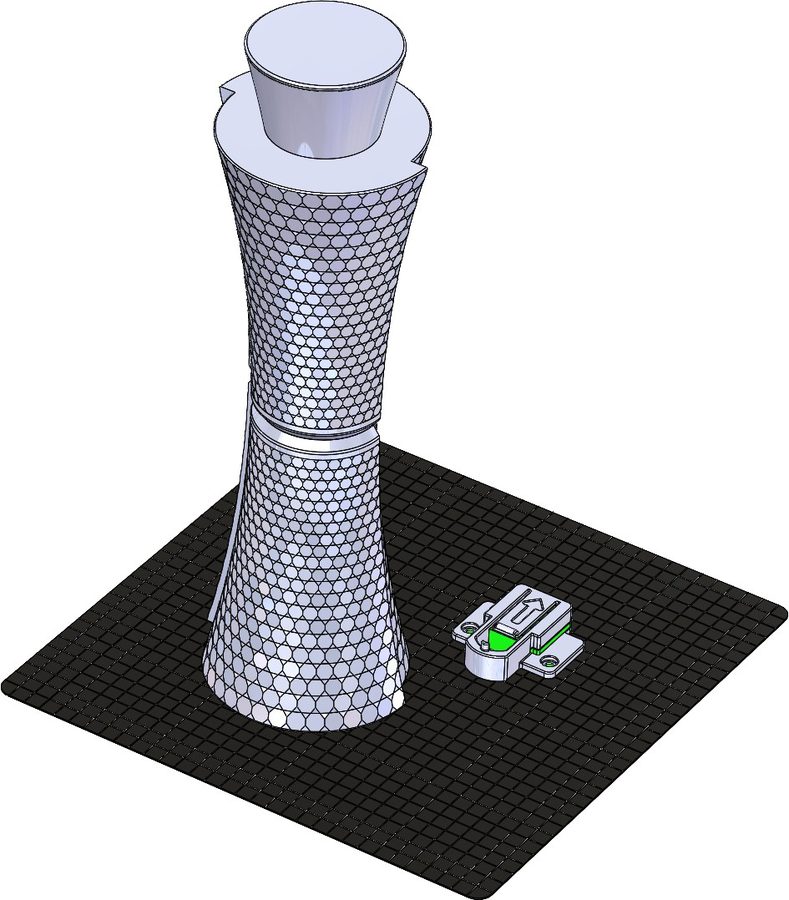
1 Piece Build407mm
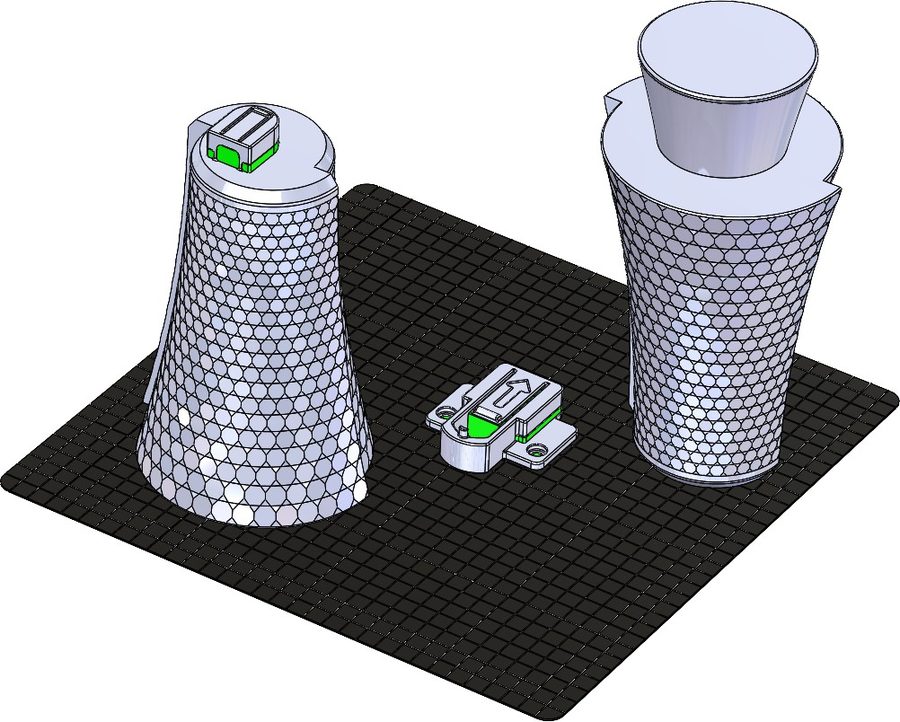
2 Piece Build230mm
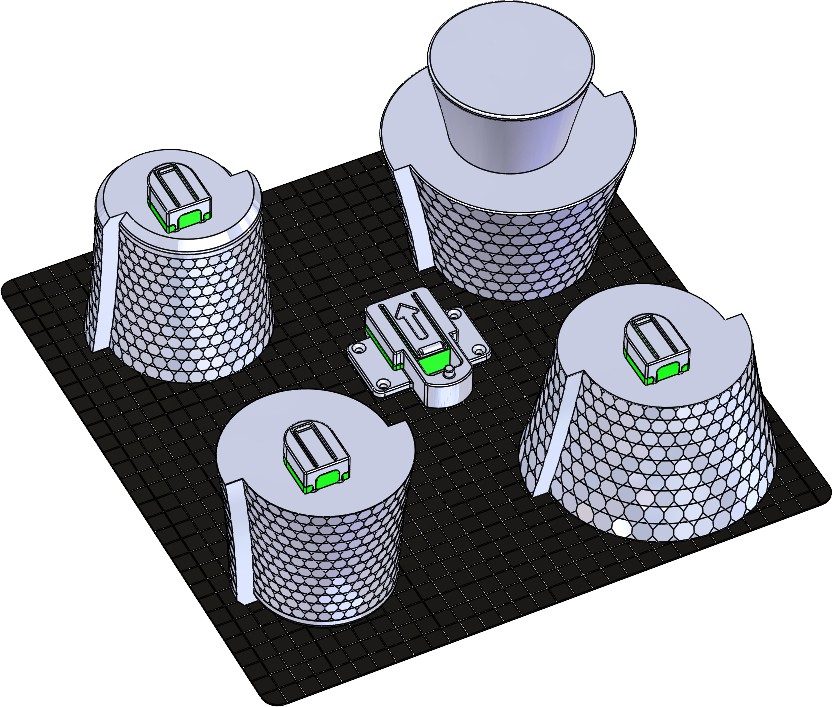
4 Piece Build135mm
Nozzle0.4mm
Build parameters
These settings are suggested for the best resolution within typical printer
capabilities.
Layer Height0.16mm
Wall Count2
Infill10%
Support Threshold25°
For a more durable print / semi-toddler proof
Wall Count5
Infill25%
Parameters are based on our testing. Every printer is different, which
requires varying build parameters.
Orientation
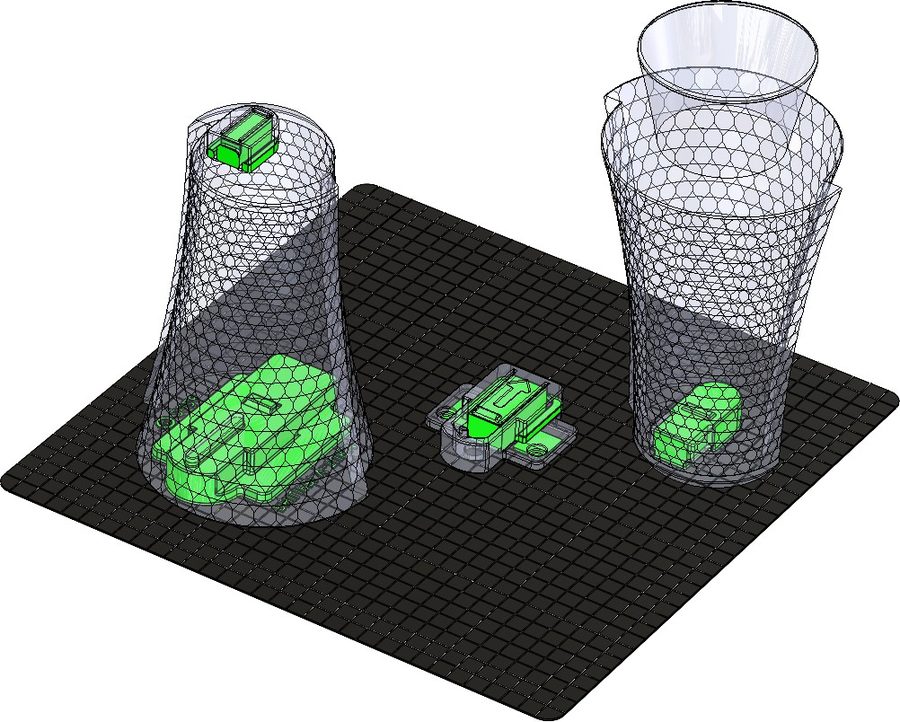
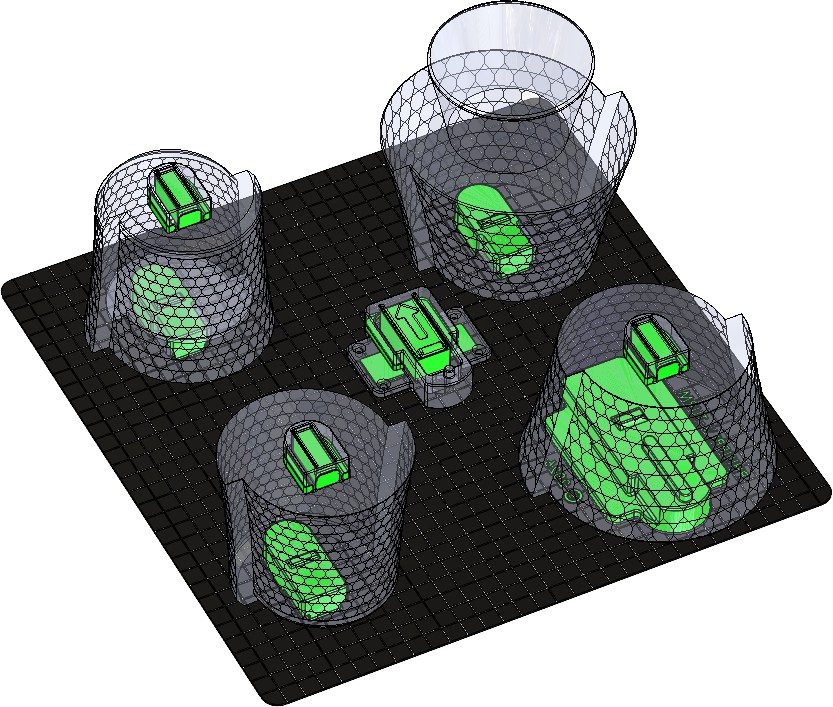
Orient the parts as depicted. Other orientations can affect the ability to
assemble the Philippi V-Turm.
Please note
Depending on the size of your build platform, you may need multiple builds.
DO NOT SCALE: this will affect the function and assembly of your Philippi V-Turm.
1 Piece Build2 Piece Build4 Piece Build
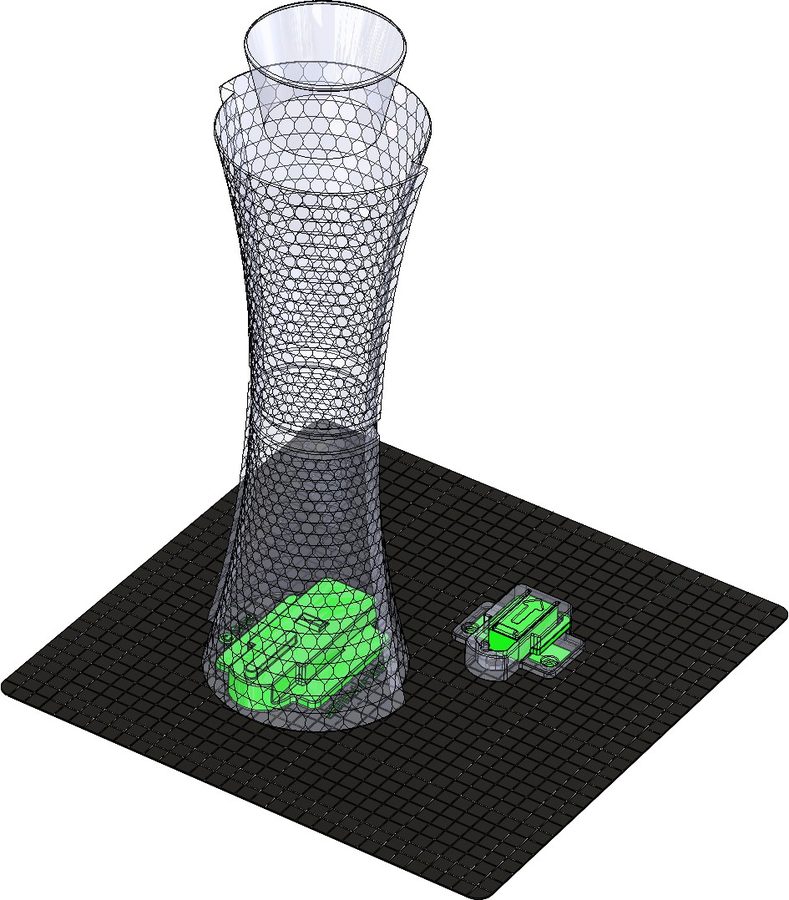
Support material
Please note
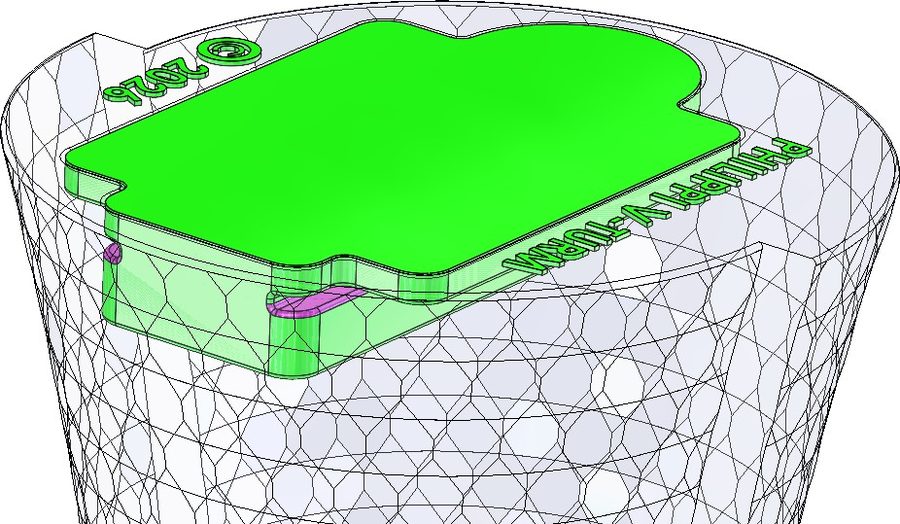
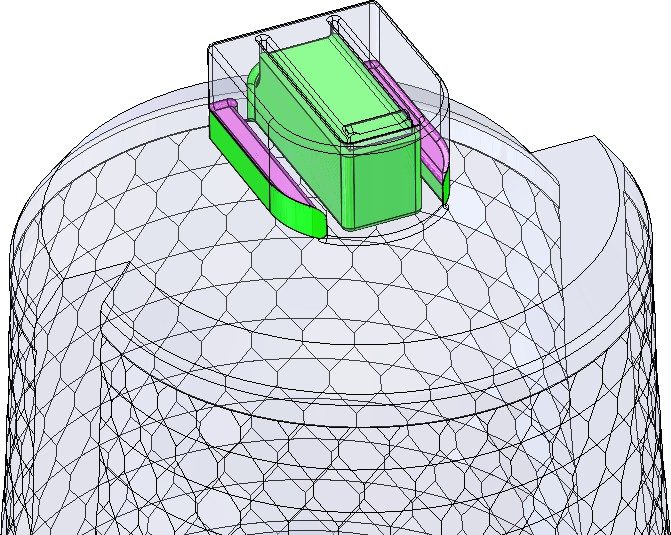
There are undercuts on every component; ensure full removal of support
material. Failure to do so will affect the ability to assemble the
Philippi V-Turm.
1 Piece Build2 Piece Build4 Piece Build
Undercuts to watch
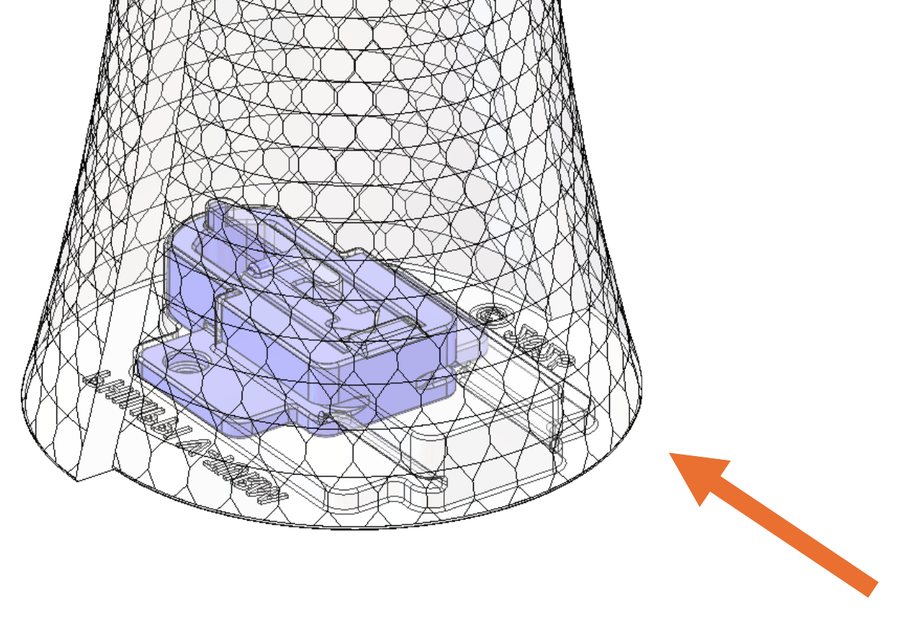
Purple-highlighted areas are examples of undercut areas requiring additional
attention when removing support.
Top connectionBase connection
Assembling your V-Turm
Segment assembly
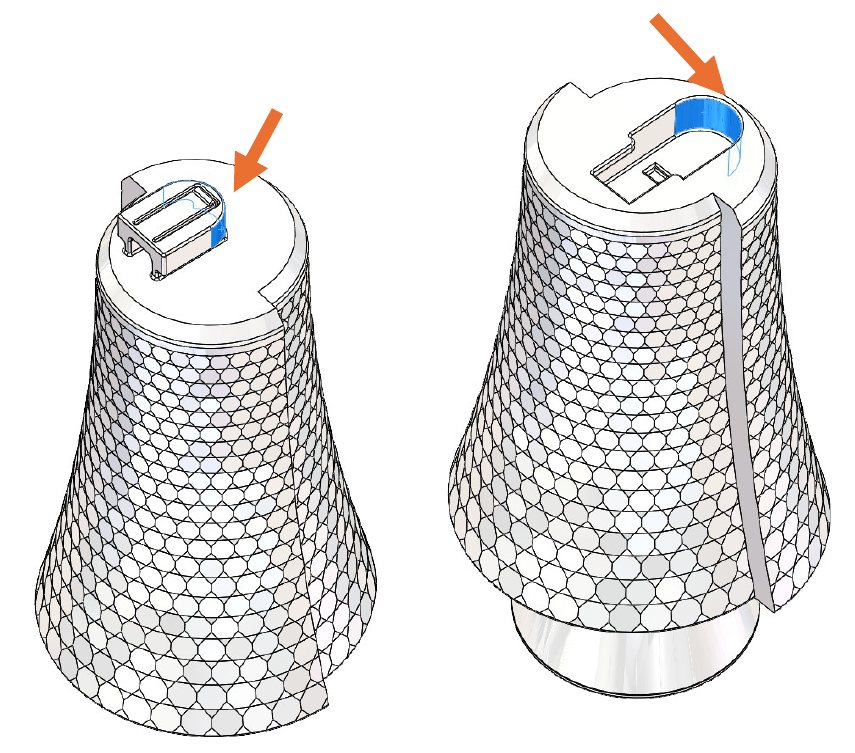
If you have printed a 2- or 4-piece V-Turm, you will need to join the segments.
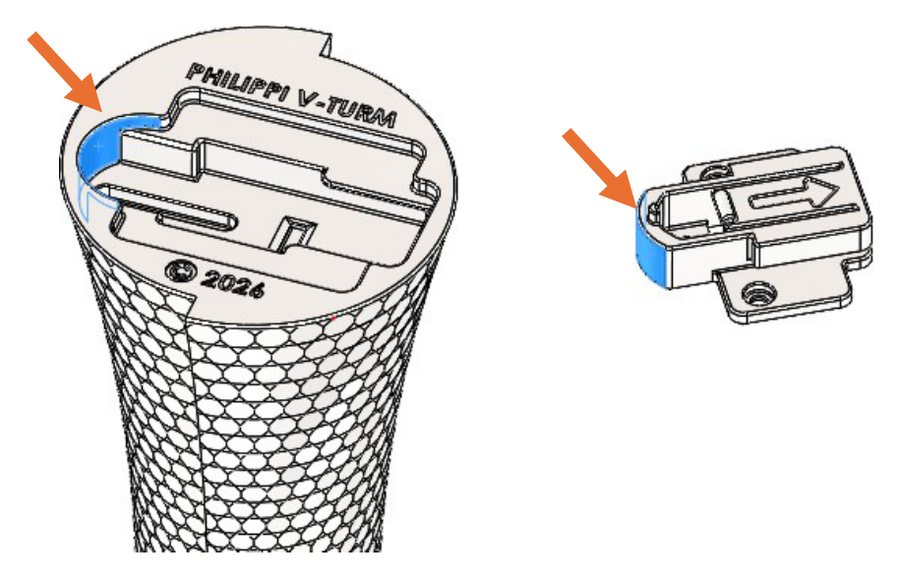
Take note of the two half-round sections of the connection. You will align
the half-round sections with the corresponding flat walls.
Join them together until the mating flat surfaces touch.
Slide the segments together until the seam between the segments aligns.
You will feel / hear a click as the segments lock together.
Slide until the segments lock
Note
To assemble the segments, there is clearance between the segment connection features. You may need to rotate the segments slightly to achieve perfect alignment.
Since there is variability among different printer types, you may find the connection loose. You can add glue to the mating surfaces.
I suggest avoiding instant / fast-cure super glues to prevent the segments from getting stuck before you can properly align them.
Mounting your V-Turm
Using the V-Turm Mount, you can securely mount your V-Turm using three
different methods.
Securing your V-Turm Mount
Once you've chosen the location for your V-Turm, secure your V-Turm Mount in
one of the three following ways:
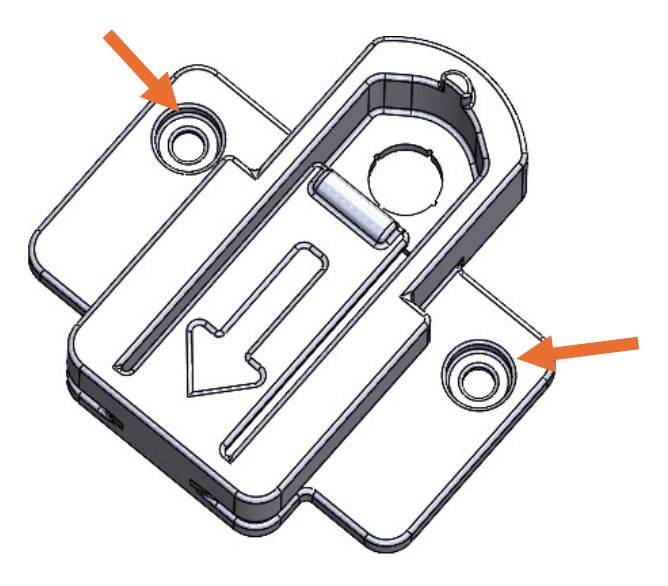
Screw attachment: there are two screw holes that
accommodate up to a #8 (4.0mm) Flat, Pan, or Round Head Wood Screw. You
will need to determine the appropriate screw size based on where and what
you're securing the V-Turm Mount to.
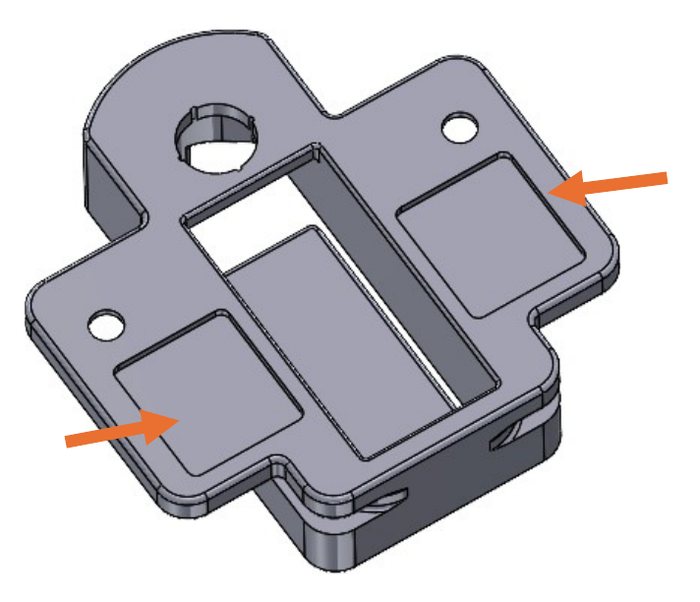
Double sided tape: on the bottom side, you will find two
recessed pockets (be sure you removed the support), which will accept
1/16" or 1.5mm thick double-sided tape. Using these pockets will help you
secure your V-Turm and keep it from wobbling.
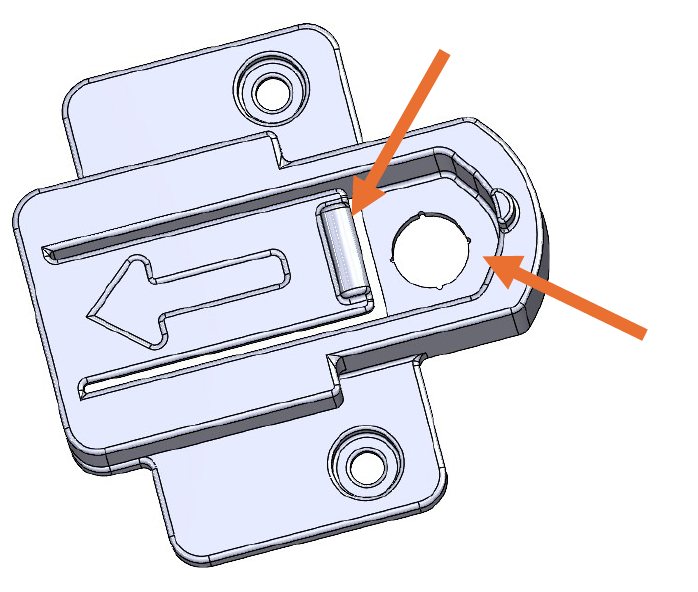
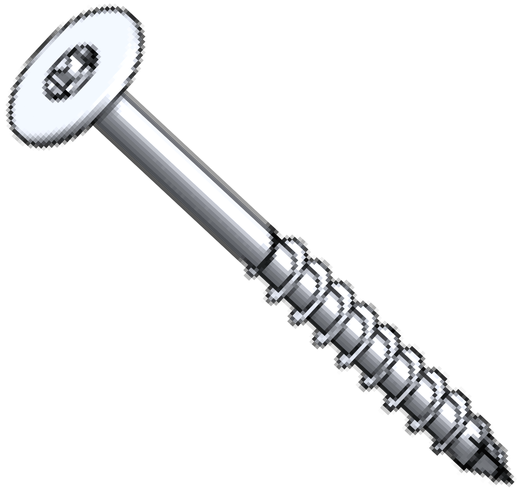
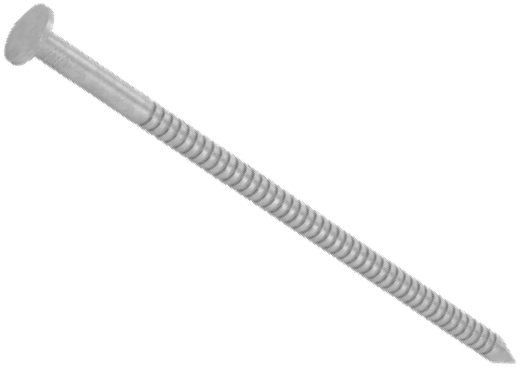
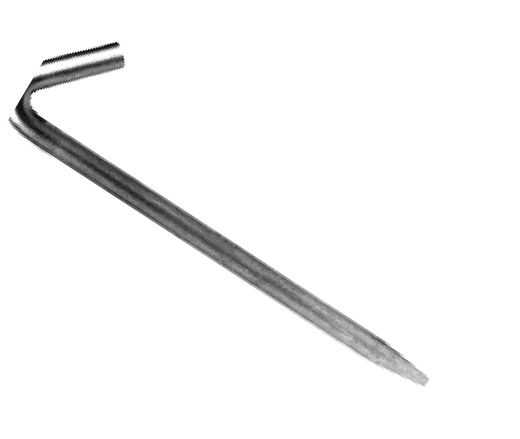
Outdoor mounting: using the recessed hole, you can use a
garden stake, timber screw, or similar fastener with a large head. I
suggest using a fastener that is at least 6" / 150mm in length.
Note
You may need to wiggle / depress the flex arm to get the head of
your fastener past.
Fastener examples
Timber screwLarge-head spikeGarden stake
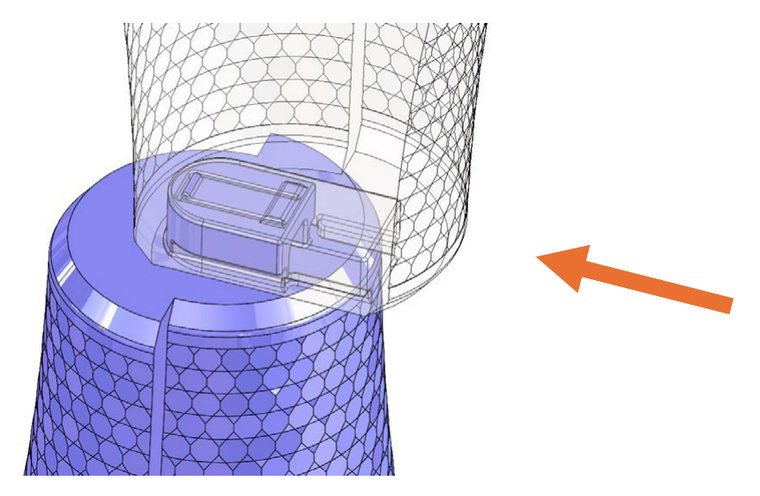
Connecting your V-Turm to the Mount
Once you've secured your V-Turm Mount, you'll attach your V-Turm.
Take note of the two half-round sections of the connection. You will align
the half-round sections with the corresponding flat walls, keeping them
parallel.
Join them together until the mating flat surfaces touch.
Slide the V-Turm onto the V-Turm Mount until you hear / feel a click.
Slide to lock the V-Turm
Note
You can remove your V-Turm for cleaning easily by sliding it in the
opposite direction. There may be a decent amount of initial resistance to
overcome the flex arm lock.